As an Amazon Associate, we earn from qualifying purchases. This does not affect the price you pay or the quality of the products you buy. For more information, please read the full affiliate disclosure here.
As a proud owner of a Honda EU2200i generator for several years now, I can say that it has been a reliable and efficient source of power for all my needs.
One thing that I’ve learned during my time using this generator is the importance of regularly replacing its spark plug.
The spark plug is the most important part that ignites the fuel in the generator’s engine, and without it, the generator won’t start or run.
In this DIY guide, I will share with you the step-by-step process of replacing the spark plug in your Honda EU2200i generator. But first, you can learn about — what type of spark plug is best for Honda EU2200i.
Step-by-Step Guide to Replace Honda EU2200i Spark Plug

Step 1: Turn off the generator and let it cool down
Before you begin replacing the spark plug, make sure that the generator is turned off and has cooled down.
I would argue that you will not want to burn yourself accidentally while working on the spark plug, so you have no option.
Furthermore, it’s also a good idea to disconnect the spark plug wire from the spark plug to prevent any accidental starts. But that would be after you have located the spark plug and removed the cover.
Step 2: Locate the spark plug and remove the spark plug cover
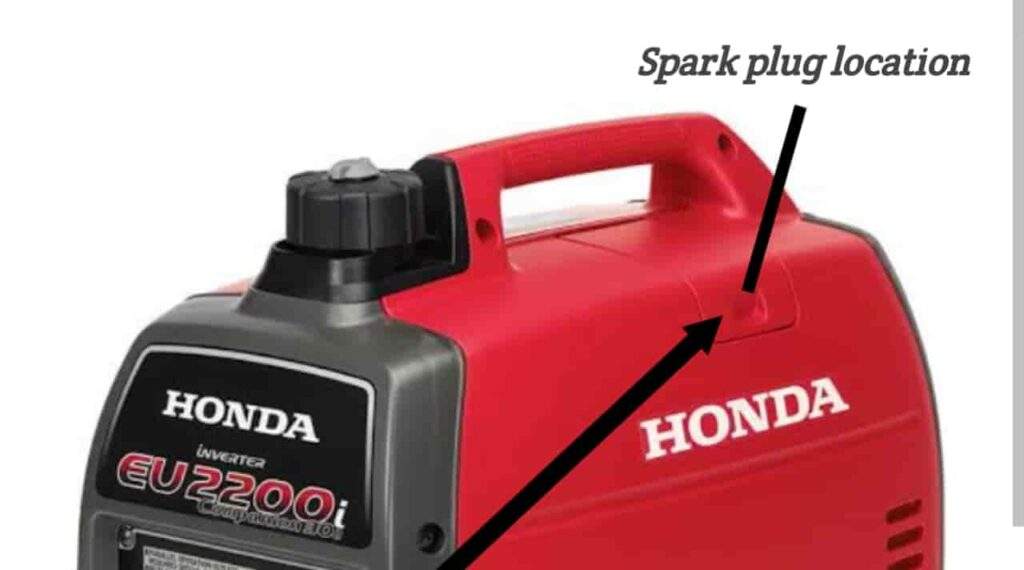
To locate the spark plug in your Honda EU2200i generator, you’ll need to first locate the engine. The engine is usually located on the top of the generator, and it may be covered by a plastic or metal cover.
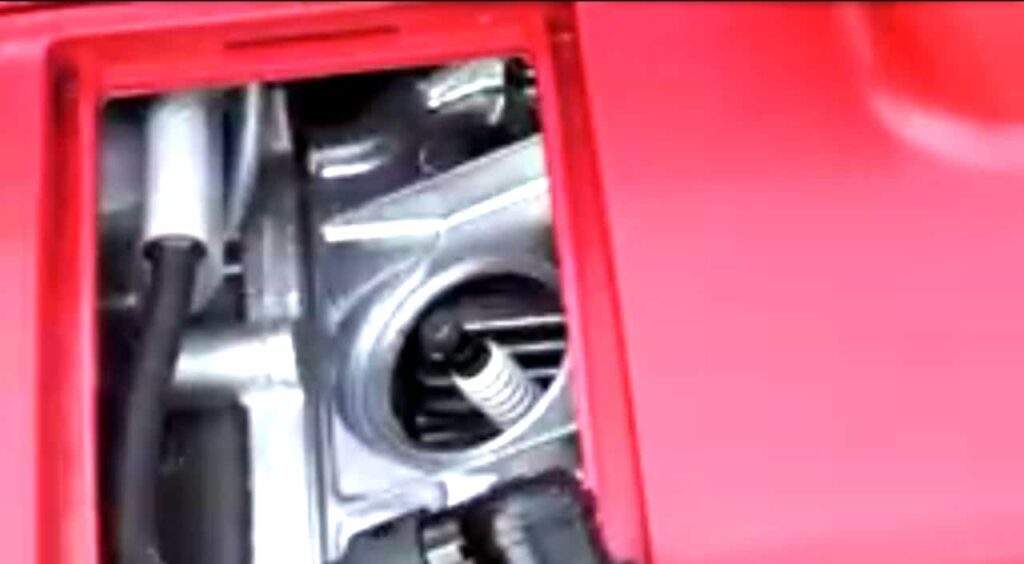
Once you’ve located the engine, look for the spark plug, which is usually located near the exhaust port. The exhaust port is where the exhaust fumes from the engine exit the generator. The spark plug may be covered by a small plastic or metal cover that is held in place by screws.
To remove the spark plug cover, you’ll need a screwdriver that fits the size of the screws holding the cover in place. Gently insert the screwdriver into each screw and turn counterclockwise to loosen the screws. Once all the screws are loose, you can gently lift the cover off the engine and set it aside.
With the spark plug cover removed, you should now have access to the spark plug. The spark plug may be held in place by a rubber boot, which you can gently pull off to access the spark plug itself. Once you have access to the spark plug, you can proceed to the next step in the process, which is removing the old spark plug.
Step 3: Remove the old spark plug
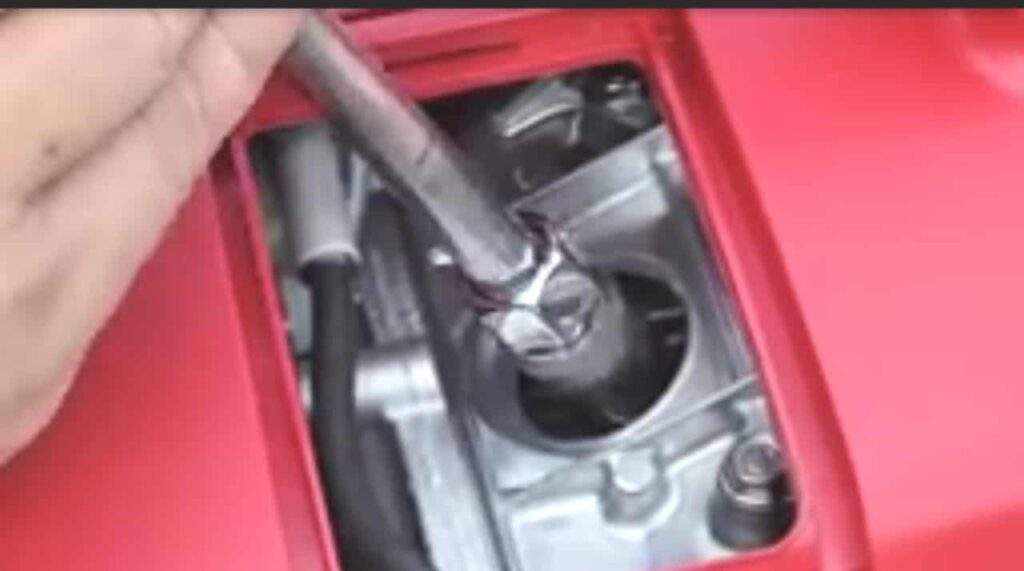
Now that you have access to the spark plug, it’s time to remove the old spark plug so you can replace it with a new one. To remove the old spark plug, you’ll need a spark plug socket and a ratchet wrench.
The spark plug socket is a specialized tool designed to fit over the top of the spark plug, while the ratchet wrench is used to turn the socket counterclockwise to loosen the spark plug. Before you begin, make sure that the socket and wrench fit snugly over the spark plug to avoid damaging it.
To loosen the old spark plug, insert the spark plug socket onto the top of the spark plug and attach the ratchet wrench to the socket.
Turn the wrench counterclockwise to loosen the spark plug. You may need to apply some force to break the seal created by the old spark plug, but be careful not to use too much force, as this can damage the spark plug or the engine.
Once the old spark plug is loose enough, you can remove it by hand. Gently pull the spark plug out of the engine, being careful not to drop it into the engine.
If the spark plug is difficult to remove, you can use a pair of pliers or a spark plug removal tool to help you get a better grip on the spark plug and remove it more easily.
Once you’ve successfully removed the old spark plug, you’re ready to move on to the next step, which is inspecting the new spark plug.
Step 4: Inspect the old spark plug
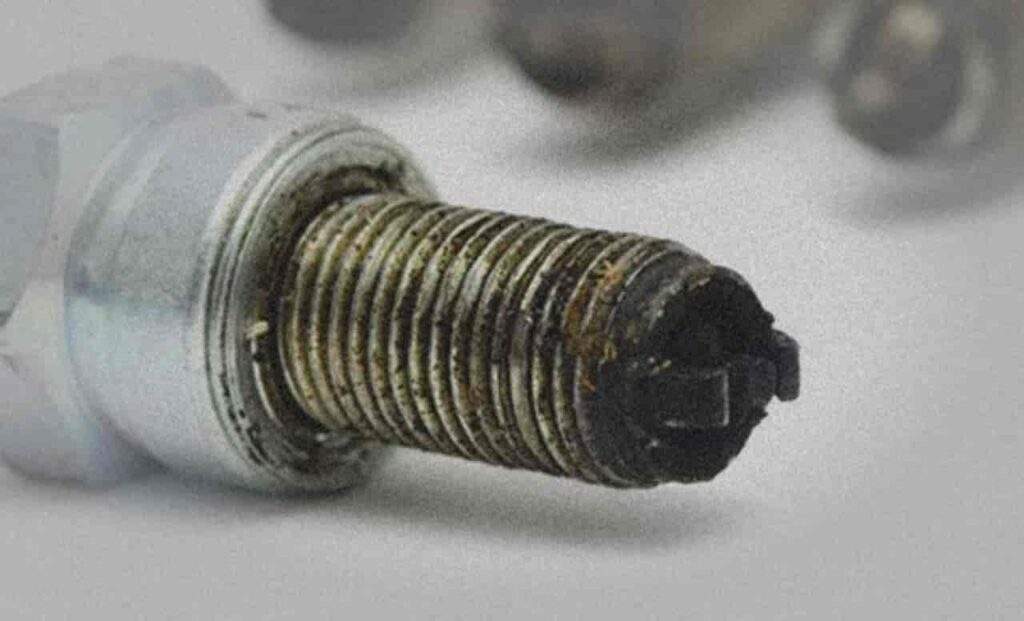
Inspecting the old spark plug is an important step in the spark plug replacement process you shouldn’t neglect. By examining the old spark plug, you can get a sense of the overall health of your generator’s engine.
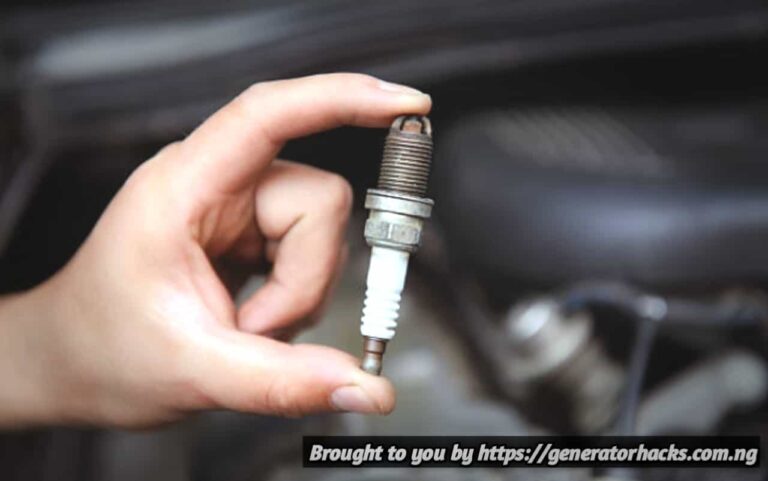
To inspect the old spark plug, first take a close look at the electrode, which is the small metal tip at the end of the spark plug.
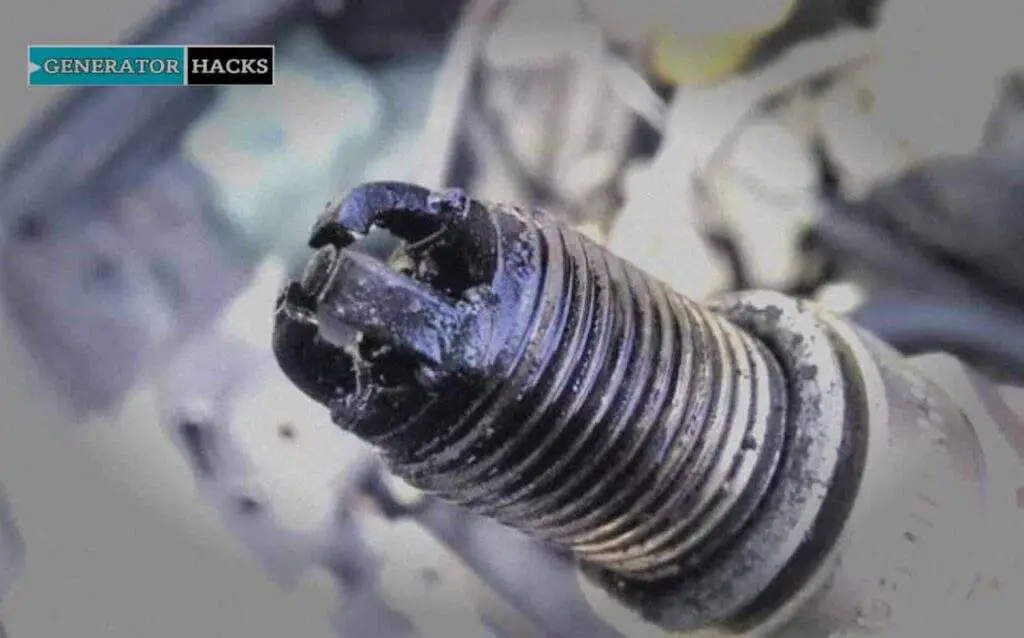
The electrode should be a light tan or gray color and should not be covered in oil or carbon buildup. If the electrode is black, oily, or covered in carbon buildup, it’s a sign that the engine may not be running properly, and it’s time to replace the spark plug.
In addition to inspecting the electrode, also check the condition of the spark plug’s insulator, which is the white or ceramic part of the spark plug that separates the electrode from the metal casing. If the insulator is cracked or damaged, it’s time to replace the spark plug.
Lastly, if you notice any other signs of wear or damage, such as a bent electrode or a damaged thread, it’s also time to replace the spark plug. But if you have not noticed anything, you can install it back or install a new one if you like which will lead us to the next step.
Also Read:- FAQs: Why Do New Spark Plugs Turn Black? (Answered)
Step 5: Install the new spark plug
Installing the new spark plug is a relatively straightforward process, but it’s important to do it correctly to ensure that your Honda generator runs smoothly.
Before you install the new spark plug, you must check the gap between the center and ground electrode. The gap is the distance between the two electrodes, and it needs to be set to the manufacturer’s specifications to ensure that the spark plug works properly. You can find the gap specifications in the owner’s manual or by contacting the manufacturer.
To check the gap, use a spark plug gap tool. This tool is designed to measure the distance between the center and ground electrode and can be used to adjust the gap if necessary. Simply place the tool between the electrodes and gently pry them apart or push them together until they reach the correct distance.
Once you’ve set the gap, carefully thread the new spark plug into place by hand. It’s important to do this by hand to avoid cross-threading the spark plug, which can damage the threads on the engine.
Once the spark plug is threaded in by hand, use the spark plug socket and ratchet wrench to tighten it down. Be careful not to overtighten the spark plug, as this can damage the engine or the spark plug itself.
Also Read:- Generator Spark Plug Gap: What It Is and Why It Matters
Step 6: Reconnect the spark plug wire.

After replacing the spark plug on your Honda EU2200i generator, the next step is to reconnect the spark plug wire.
Locate the spark plug wire and carefully insert the end onto the spark plug. Push the wire down firmly until it clicks into place. You should feel some resistance when you push the wire onto the spark plug, indicating that it’s properly connected.
Once the spark plug wire is connected, you can test the generator to ensure that it’s running properly. Start the generator and listen for any unusual noises or vibrations. If everything sounds and feels normal, then your spark plug replacement was successful.
It’s important to note that if you’re not comfortable performing any of these steps or if you encounter any issues during the process, it’s always a good idea to consult a professional.
Improper installation of a spark plug or the spark plug wire can lead to serious problems, including damage to the engine, so it’s better to err on the side of caution and seek professional assistance if needed.
Step 7: Finally Reinstall the spark plug cover
For you to complete the spark plug replacement process on your Honda EU2200i generator, you must reinstall the spark plug cover.
After you have installed the spark plug wire, you can now gently position the spark plug cover over the engine, making sure that it is aligned properly.
Then, insert the screws that hold the cover in place and tighten them using a screwdriver. Be careful not to overtighten the screws, as this can strip the threads in the plastic cover.
Final Thought
Replacing the spark plug in your Honda EU2200i generator is a simple but important maintenance task that can help ensure the reliable and efficient operation of your generator.
By following the step-by-step guide we have provided, you can confidently perform this task yourself and avoid the expense and inconvenience of taking your generator to a repair shop.
Remember to always consult your owner’s manual and follow the manufacturer’s recommended maintenance schedule to keep your generator in good working order.
With proper care and maintenance, your Honda EU2200i generator can provide you with reliable power for years to come.
However, for a practical overview of the whole process of replacing your Honda EU2200i spark plug, this video can help.

