As an Amazon Associate, we earn from qualifying purchases. This does not affect the price you pay or the quality of the products you buy. For more information, please read the full affiliate disclosure here.
Imagine this: You are ready to mow your lawn on a sunny day, but when you try to start your Troy Bilt lawn mower, nothing happens. You pull the cord or turn the key, but the engine doesn’t even make a sound. You feel frustrated and wonder what could be wrong with your mower.
You are not alone. Many Troy Bilt lawn mower owners have faced this problem at some point. The good news is that most of the time, the issue is not serious and can be fixed easily. You just need to know what to look for and how to troubleshoot it.
In this blog post, we will guide you through the process of finding and fixing the common causes of a Troy Bilt lawn mower not starting. Let’s get started!
The Common Causes of a Troy Bilt Lawn Mower Not Starting and How to Fix Them
Four main factors affect the starting of a lawn mower engine: fuel, improper engine operation, spark plug, and mechanic issues.
If any of these are missing or insufficient, the engine will not start. Therefore, the most common causes of a Troy Bilt lawn mower not starting are outlined below:
1. Improper engine operation issues
The improper engine operation issue occurs when the engine is not functioning smoothly and efficiently due to factors such as the choke, the oil level, the air filter, or the engine temperature. These factors can affect the compression, combustion, and cooling of the engine and need to be checked and adjusted regularly.
Some of the common improper engine operation issues are:
1. Not choking the engine properly
The choke is the device that controls the amount of air that enters the carburetor. It is usually a lever or a knob that can be moved to the closed or on position when starting a cold engine.
This reduces the air intake and enriches the fuel-air mixture, making it easier to ignite. If the choke is not closed or on when starting a cold engine, the engine may not start or run well.
To check the choke, you will need to locate it on the engine or the dashboard and make sure it is in the closed or on position when starting a cold engine. You can also check the choke cable and linkage for any signs of damage or wear. Adjust or replace them as needed.
ALSO READ:- Generator Only Runs on Choke: Causes And Expert Tips on How to Fix it
2. Low or empty oil level
The oil is the fluid that lubricates and cools the moving parts of the engine. It is usually stored in a reservoir or a sump under the engine. If the oil level is low or empty, the engine may not start or run well. It may also cause internal engine damage due to friction and overheating.
To check the oil level, you will need to locate the oil dipstick or the oil cap on the engine and remove it. Wipe the dipstick with a clean cloth and insert it back into the oil reservoir or sump. Pull it out again and check the oil level on the dipstick. It should be between the full and the added marks.
If the oil level is low, add the recommended type and amount of oil to the reservoir or sump. If the oil level is empty, it could indicate a serious engine problem. Contact an authorized service center for further inspection.
3. Dirty or clogged air filter
The air filter is the device that cleans the air that enters the carburetor. It is usually a paper or foam element that is located in a plastic or metal housing on the side or the top of the engine. If the air filter is dirty or clogged, it may restrict the airflow and affect the fuel-air mixture, making it harder to ignite.
To check the air filter, you will need to locate the air filter housing on the engine and remove the cover. Inspect the air filter element for any signs of dirt, dust, or debris. Clean or replace the air filter element as needed. You can also check the air filter housing and the air intake hose for any signs of damage or leaks.
RECOMMENDED READ:- How to Clean Generator Air Filter in 8 Simple Ways +Video
4. Overheated engine
The engine is the device that converts the fuel-air mixture into mechanical power. It generates a lot of heat during the process, and it needs to be cooled down by the oil, the air, and the cooling system. If the engine is overheated, it may not start or run well. It may also cause internal engine damage due to thermal expansion and contraction.
To check the engine temperature, you will need to locate the temperature gauge or the indicator light on the dashboard and see if it shows a high reading or a warning signal. You can also touch the engine to see if it feels too hot.
If the engine is overheated, let it cool down before attempting to start it again. You can also check the oil level, the air filter, the cooling system, and the ventilation for any problems that may cause overheating. Fix them as needed.
RECOMMEDED READ:- Generator Overheating: Causes and Solutions
2. The Spark Plug-Related Issues
The spark plug issue is when the spark plug is not igniting the fuel-air mixture in the cylinder properly due to factors such as the spark plug condition, the spark plug gap, the spark plug wire, or the ignition coil. These factors can affect the spark quality and timing and need to be inspected, cleaned, and replaced as needed.
Some of the common spark plug issues are:
1. Worn-out or fouled spark plug
The spark plug is the device that ignites the fuel-air mixture in the cylinder, creating the power to move the mower. It is usually a metal rod with a ceramic insulator and an electrode at the bottom. If the spark plug is worn out, fouled, cracked, or gapped incorrectly, the engine may not start or run smoothly.
To check the spark plug, you will need to locate the spark plug wire on the engine and disconnect it from the spark plug. Remove the spark plug with a spark plug wrench and inspect it for any signs of damage or carbon buildup.
Clean the spark plug with a wire brush, or replace it as needed. Check the spark plug gap and make sure it is within the specified range. Adjust the gap with a feeler gauge or replace the spark plug as needed. Check the spark plug wire and make sure it is not loose, broken, or corroded. Replace it as needed.
RECOMMENDED READ:- What Causes Fuel-Fouled Spark Plugs in Generators? Symptoms and Ways to Fix It
2. Bad ignition coil
The ignition coil is the device that generates the high voltage needed to create the spark at the spark plug. It is usually a metal cylinder with wires attached to it. It is located near the spark plug or the flywheel. If the ignition coil is defective, burned, or corroded, the engine may not start or run smoothly.
To check the ignition coil, you will need a spark plug circuit-testing tool or a multimeter. Set the device to measure voltage or resistance, and connect the probes to the terminals of the ignition coil.
The ignition coil should have a specified voltage or resistance, indicating that it is working. If the reading is not as expected, the ignition coil may be defective, burned, or corroded. You can also check the ignition coil for any signs of dirt, rust, or damage. Clean, repair, or replace the ignition coil as needed.
3. The Fuel-Related Issues
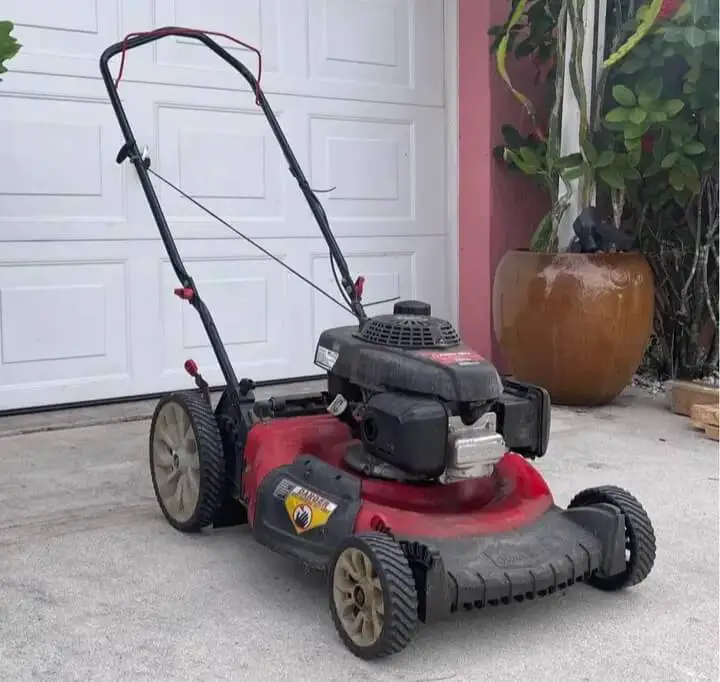
A fuel-related issue is when the fuel is not delivering the right amount and quality of fuel to the engine due to factors such as the fuel condition, the fuel filter, the fuel lines, the fuel pump, or the carburetor. These factors can affect the fuel flow and the fuel-air mixture and need to be drained, cleaned, and replaced as needed.
Some of the common fuel-related issues include:
1. Old, stale, or contaminated fuel
The fuel is the liquid that provides the energy for the engine. It is usually stored in a tank under the seat or the hood. If the fuel is old, stale, or contaminated, it may lose its volatility and affect the fuel-air mixture, making it harder to ignite.
To check the fuel, you will need to locate the fuel tank and the fuel cap on the mower and remove the fuel cap. Smell the fuel and see if it has a sour or stale odor.
You can also use a fuel test swab or a fuel tester to see if the fuel has gone bad. If the fuel is old, stale, or contaminated, drain it and replace it with fresh fuel. You can also check the fuel tank and the fuel cap for any signs of rust, dirt, or damage. Clean, repair, or replace them as needed.
RECOMMENDED READ:- How to Dispose of Your Old Generator for Cash
2. Clogged or dirty fuel filter
The fuel filter is the device that cleans the fuel that flows from the tank to the carburetor. It is usually a plastic or metal cylinder with a paper or mesh element inside. It is located near the fuel tank or the carburetor. If the fuel filter is clogged or dirty, it may restrict the fuel flow and affect the fuel-air mixture, making it harder to ignite.
To check the fuel filter, you will need to locate the fuel filter on the mower and disconnect the fuel lines from it. Inspect the fuel filter for any signs of clogging, dirt, or damage. Replace the fuel filter as needed. You can also check the fuel lines for any signs of kinks, cracks, or leaks. Repair or replace them as needed.
3. Dirty or gummed-up carburetor
The carburetor is the device that mixes the fuel and the air in the right proportion for the engine. It is usually a metal or plastic box with a butterfly valve and a metering needle inside. It is located on the side or top of the engine. If the carburetor is dirty or gummed up, it may affect the fuel-air mixture and the engine performance, making it harder to start or run well.
To check the carburetor, you will need to locate the carburetor on the engine and remove the air filter and the fuel lines from it. Inspect the carburetor for any signs of dirt, gum, or glaze. Clean the carburetor with carburetor cleaner and pressurized air, or rebuild it if necessary.
4. Electrical issues
The electrical system is responsible for providing power and signals to the engine and the other parts of the mower. If there is a problem with the battery, the wiring, the switches, the fuses, the solenoid, or the starter motor, the mower may not start or run properly. These parts can get corroded, loose, broken, or shorted over time and need to be tested, cleaned, tightened, or replaced as needed.
Here are some of the steps you can take to troubleshoot and fix the electrical issues:
1. Check the battery.
The battery is the source of power for the mower, and it needs to have enough charge and voltage to start the engine. If the battery is dead, weak, or corroded, the mower may not start or run well.
To check the battery, you will need a voltmeter or a multimeter. Set the device to measure DC voltage and connect the positive and negative probes to the corresponding terminals on the battery.
The battery should have at least 12 volts when fully charged. If the reading is lower than 12 volts, the battery may need to be charged or replaced.
You can also check the battery terminals and cables for any signs of corrosion, dirt, or damage. Clean them with a wire brush or a baking soda solution, and tighten them as needed.
2. Check the wiring.
The wiring is the network of wires that connects the battery, the switches, the solenoid, and the starter motor.
If the wiring is loose, broken, or shorted, the mower may not start or run well. To check the wiring, you will need a continuity tester or a multimeter.
Set the device to measure resistance or continuity, and connect the probes to the ends of each wire. The wiring should have low or no resistance, indicating a good connection.
If the reading is high or infinite, the wiring may have a break or a short. You can also visually inspect the wiring for any signs of wear, tear, or damage. Repair or replace the wiring as needed.
3. Check the switches.
The switches are the devices that control the power and the safety features of the mower. They include the ignition switch, the brake switch, the seat switch, the blade switch, and the PTO switch.
If the switches are faulty, stuck, or misaligned, the mower may not start or run well. To check the switches, you will need a continuity tester or a multimeter.
Set the device to measure resistance or continuity, and connect the probes to the terminals of each switch. The switches should have low or no resistance when they are in the on or closed position and high or infinite resistance when they are in the off or open position.
If the reading is not as expected, the switches may be defective or out of adjustment. You can also check the switches for any signs of dirt, corrosion, or damage. Clean, adjust, or replace the switches as needed.
4. Check the fuses.
The fuses are the devices that protect the electrical system from overcurrent or short circuits. They are usually located near the battery or the solenoid. If the fuses are blown or missing, the mower may not start or run well.
To check the fuses, you will need a continuity tester or a multimeter. Set the device to measure resistance or continuity, and connect the probes to the ends of each fuse.
The fuses should have low or no resistance, indicating that they are intact. If the reading is high or infinite, the fuse may be blown or missing. You can also visually inspect the fuses for any signs of melting, burning, or damage. Replace the fuses as needed.
5. Check the solenoid.
The solenoid is the device that connects the battery to the starter motor when the ignition switch is turned on. It is usually located near the battery or the starter motor. If the solenoid is defective, burned, or corroded, the mower may not start or run well.
To check the solenoid, you will need a voltmeter, a multimeter, and a jumper wire. Set the device to measure DC voltage and connect the positive probe to the terminal that connects to the battery and the negative probe to a good ground.
The solenoid should have 12 volts or more, indicating that it is receiving power from the battery. If the reading is lower than 12 volts, the solenoid may have a bad connection or a faulty wire.
Next, connect the positive probe to the terminal that connects to the starter motor and the negative probe to a good ground. The solenoid should have no voltage, indicating that it is not sending power to the starter motor. If the reading is 12 volts or more, the solenoid may be stuck or shorted.
Next, connect the jumper wire from the terminal that connects to the battery to the terminal that connects to the ignition switch. This will bypass the ignition switch and activate the solenoid. You should hear a clicking sound from the solenoid, indicating that it is working.
If you do not hear a clicking sound, the solenoid may be defective, burned, or corroded. You can also check the solenoid for any signs of dirt, rust, or damage. Clean, repair, or replace the solenoid as needed.
6. Check the starter motor.
The starter motor is the device that spins the flywheel and cranks the engine when the solenoid is activated. It is usually located on the side or bottom of the engine. If the starter motor is damaged, jammed, or worn out, the mower may not start or run well.
To check the starter motor, you will need a voltmeter, a multimeter, and a jumper wire. Set the device to measure DC voltage and connect the positive probe to the terminal that connects to the solenoid and the negative probe to a good ground.
The starter motor should have 12 volts or more, indicating that it is receiving power from the solenoid. If the reading is lower than 12 volts, the starter motor may have a bad connection or a faulty wire.
Next, connect the jumper wire from the positive terminal of the battery to the terminal that connects to the solenoid. This will bypass the solenoid and activate the starter motor. You should hear the starter motor spin and crank the engine, indicating that it is working.
If you do not hear the starter motor spin, the starter motor may be damaged, jammed, or worn out. You can also check the starter motor for any signs of wear, tear, or damage. Clean, repair, or replace the starter motor as needed.
5. Mechanical issues
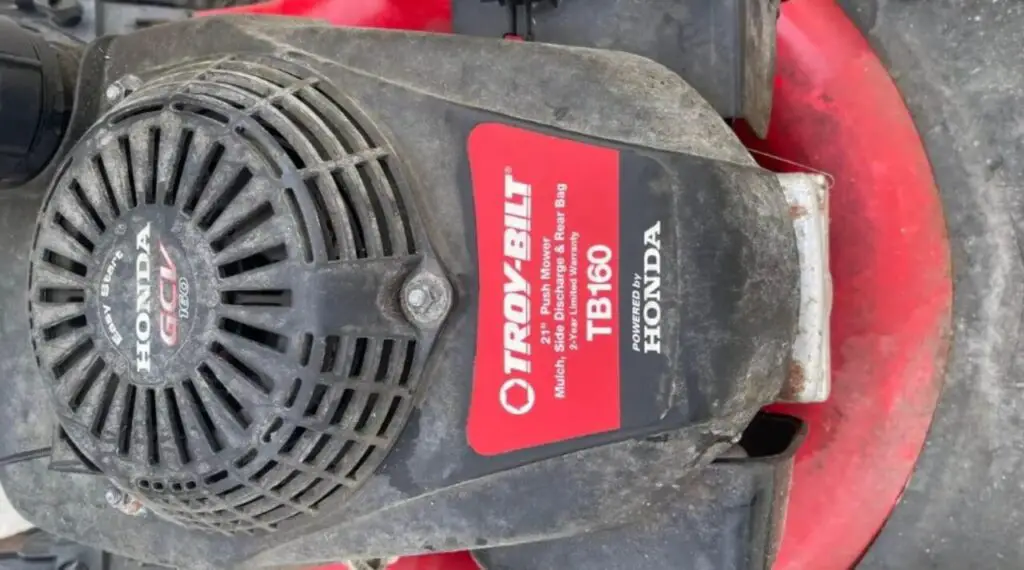
The mechanical issues of a Troy Bilt lawn mower are not starting to affect the power and motion transfer from the engine to the wheels and the blades.
Some of the common mechanical issues are:
1. Worn-out or broken belts
The belts are the rubber bands that connect the engine pulley to the transmission pulley or the blade pulley. They transmit the rotational force from the engine to the wheels or the blades. If the belts are worn out, stretched, broken, or misaligned, the mower may not start or run properly.
To check the belts, you will need to remove the mower deck or the engine cover and inspect the belts for any signs of damage or wear. You can also check the belt tension and alignment by pushing or pulling the belts and seeing how much they move.
The belts should be tight and aligned with the pulleys. If the belts are loose, you can adjust the tension by moving the idler pulley or the engine. If the belts are damaged, you will need to replace them with new ones.
2. Damaged or loose pulleys
The pulleys are the metal wheels that the belts wrap around. They transfer the rotational force from the belts to the shafts or the spindles. If the pulleys are damaged, loose, or seized, the mower may not start or run properly.
To check the pulleys, you will need to remove the mower deck or the engine cover and inspect the pulleys for any signs of damage or wear. You can also check the pulley rotation and alignment by spinning the pulleys and seeing how smoothly they turn.
The pulleys should spin freely and be aligned with the belts. If the pulleys are loose, you can tighten the bolts or the nuts that secure them to the shafts or the spindles. If the pulleys are damaged, you will need to replace them with new ones.
3. Worn-out or broken gear
The gears are the metal teeth that mesh with each other to transfer the rotational force from the shafts to the wheels or the blades. They are usually located in the transmission or the differential. If the gears are worn out, broken, or stripped, the mower may not start or run properly.
To check the gears, you will need to remove the transmission or the differential cover and inspect the gears for any signs of damage or wear. You can also check the gear engagement and alignment by turning the wheels or the blades and seeing how smoothly they move. The gears should mesh smoothly and be aligned with each other. If the gears are damaged, you will need to replace them with new ones.
4. Damaged or loose bearings
The bearings are the metal balls or rollers that reduce the friction and noise between the moving parts. They are usually located in the wheel hubs, the spindles, or the shafts. If the bearings are damaged, loose, or noisy, the mower may not start or run properly.
To check the bearings, you will need to remove the wheels, the blades, or the shafts and inspect the bearings for any signs of damage or wear. You can also check the bearing rotation and alignment by spinning the bearings and seeing how smoothly they turn.
The bearings should spin freely and be aligned with the hubs, the spindles, or the shafts. If the bearings are loose, you can tighten the bolts or the nuts that secure them to the hubs, the spindles, or the shafts. If the bearings are damaged, you will need to replace them with new ones.
5. Bent, broken, or loose spindles
The spindles are the metal rods that connect the blades to the deck. They transfer the rotational force from the pulleys to the blades. If the spindles are bent, broken, or loose, the mower may not start or run properly.
To check the spindles, you will need to remove the blades and inspect the spindles for any signs of damage or wear. You can also check the spindle rotation and alignment by spinning the spindles and seeing how smoothly they turn.
The spindles should spin freely and be aligned with the deck. If the spindles are loose, you can tighten the bolts or the nuts that secure them to the deck. If the spindles are damaged, you will need to replace them with new ones.
6. Dull, bent, or cracked blades
The blades are the metal cutting edges that trim the grass. They are attached to the spindles by bolts or nuts. If the blades are dull, bent, or cracked, the mower may not start or run properly.
To check the blades, you will need to remove the blades and inspect them for any signs of damage or wear. You can also check the blade balance and alignment by holding the blades horizontally and seeing how evenly they hang.
The blades should be balanced and aligned with the spindles. If the blades are dull, you can sharpen them with a file or a grinder. If the blades are bent, you can straighten them with a hammer or a vise. If the blades are cracked, you will need to replace them with new ones.
RECOMMENDED READ:- Generac Generator Won’t Start in Cold Weather: Causes And Solutions
Final Words
Troy Bilt lawn mowers not starting can be a frustrating problem, but it can be solved with some simple troubleshooting and fixing steps. By following the tips and methods outlined in this blog post, you can identify and fix the common causes of this problem and get your mower running again. If you have any questions or comments, please feel free to leave them below.
Share