As an Amazon Associate, we earn from qualifying purchases. This does not affect the price you pay or the quality of the products you buy. For more information, please read the full affiliate disclosure here.
Do you have a Generac home standby generator that shows the error code “charger missing AC” on the display panel?
This means that your battery charger is not getting enough power from the T1 wire, which can affect your generator’s performance and lifespan.
Don’t worry, we are here to help you fix this problem and prevent it from happening again.
In this article, you will learn:
- What is the charger missing AC error and what causes it
- How to troubleshoot and fix the charger missing AC error
- How to maintain your generator and avoid the charger missing AC error
Let’s get started!
What is the Charger Missing AC Error and What Causes It?
The charger missing AC error is a common issue that can affect Generac home standby generators.
It indicates that there is no voltage supply to the battery charger from the T1 wire, which is connected to the transfer switch.
The battery charger is a device that converts the alternating current (AC) from the utility power or the generator into a direct current (DC) that can charge the battery.
The battery is essential for starting the generator and keeping it running smoothly.
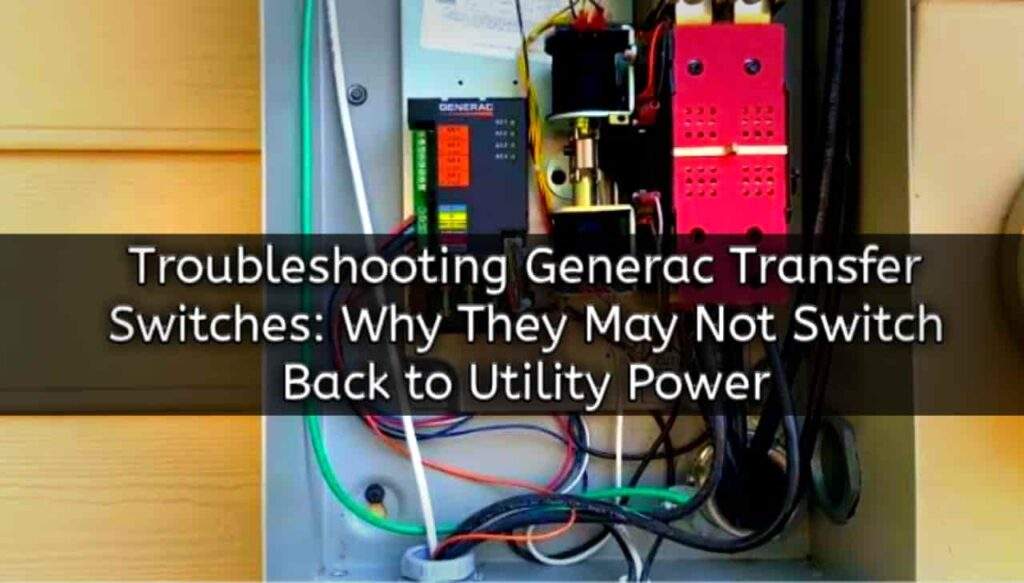
The transfer switch is a device that automatically switches the power source from the utility power to the generator when there is a power outage.
The T1 wire carries 120 VAC from the load side of the transfer switch to the battery charger.
The load side is where the electrical devices that are powered by the generator are connected.
The charger missing AC error means that there is no 120 VAC on the T1 wire, which means that the battery charger is not getting any power.
This can happen for several reasons, such as:
- A wiring error during the installation of the generator or the transfer switch: This means that the T1 wire was not connected properly or was connected to the wrong terminal. This can cause a short circuit or an open circuit, which can prevent the voltage from reaching the battery charger.
- A blown T1 fuse in the transfer switch or the generator control panel: This means that there was a surge or an overload of current on the T1 wire, which caused the fuse to melt and break. This can protect the circuit from further damage, but it also cuts off the voltage supply to the battery charger.
- A loose or damaged connection of the T1 wire: This means that there was a physical or mechanical problem with the T1 wire, such as corrosion, wear and tear, vibration, etc. This can cause poor contact or breakage of the wire, which can reduce or interrupt the voltage supply to the battery charger.
- A faulty battery charger or a defective circuit board: This means that there was an internal problem with the battery charger or its components, such as a burned-out transformer, a broken diode, a faulty capacitor, etc. This can cause a malfunction or a failure of the battery charger, which can prevent it from converting AC to DC.
When there is no 120 VAC on the T1 wire, the battery charger cannot charge the battery, which can affect the performance and longevity of the generator. Therefore, it is important to fix this error as soon as possible.
ALSO CHECK:- Generac Generator Not Charging Battery: Troubleshooting Guide
How to Troubleshoot the Charger Missing AC Error?
To troubleshoot the charger missing AC error, you need to check the voltage on the T1 wire and inspect the T1 fuse.
Here are the steps to follow:
- Turn off the utility power and disconnect the battery from the generator.
- Locate the T1 wire on the transfer switch and measure its voltage with a multimeter. It should have 120 VAC when the utility power is on and zero when it is off.
- If the voltage is correct, move on to the next step. If not, check for any wiring errors or loose connections and correct them.
- Locate the T1 fuse on the transfer switch or the generator control panel and check if it is blown. The fuse should have a clear glass window and a metal filament inside. If it is blackened or broken, replace it with a new one of the same rating.
- Reconnect the battery and turn on the utility power. Check if the error code has cleared from the display panel.
- If not, contact a Generac authorized service dealer for further assistance.
How to Prevent the Charger Missing AC Error?
To prevent the charger missing AC error from happening again, you need to maintain your generator regularly and follow some best practices, such as:
- Perform a weekly exercise cycle of your generator to keep it in good condition and test its functionality.
- Check your battery every month and replace it every two years or as recommended by Generac.
- Keep your generator clean and free of dust, dirt, debris, insects, rodents, etc.
- Avoid overloading your generator or using it for non-essential appliances during a power outage.
- Follow the instructions in your owner’s manual for proper operation and maintenance of your generator.
ALSO READ:- How to Manually Start a Generac Generator
Final Thought
The charger missing AC error is a common issue that can affect Generac home standby generators.
It means that there is no voltage supply to the battery charger from the T1 wire.
To fix this error, you need to check the voltage on the T1 wire and inspect the T1 fuse.
If you cannot resolve this error by yourself, contact a Generac authorized service dealer for professional help.
To prevent this error from happening again, maintain your generator regularly and follow some best practices.
We hope this post has helped you understand and fix the charger missing AC error on your Generac generator.
If you have any questions or comments, please feel free to leave them below.
Share


